In Florida, you can’t trust the weather to let you know when it’s fall.
Even when the calendar says that the autumnal equinox has passed, the thermometer in Florida is still ordering up pina coladas and scheduling beach days. In such dire circumstances, I am left with no choice but to grab a pumpkin beer (Fat Tire’s Pumpkick is my fave) turn the A/C down low, and just pretend like leaves are falling (instead of wilting).
Truth be told, I’ve been itching to put my Halloween decorations up since Labor Day weekend. Unfortunately, work has been so busy it kept my desires for pumpkins-and-skulls-and-spiders-ON-EVERYTHING at bay.
But after 1,200+ miles traversing the Sunshine State over the last three weeks, I am home for the weekend with an empty dance card, football on TV, and a cavalcade of killer clown collectibles ready to climb out of their boxes and terrorize my friends and family.
This is my ninth(ish) year of Halloween village construction (I think I qualify for a civil engineering degree at this point) and since my 7 Tips for Building a Budget-Friendly DIY Christmas Village was so well received, I thought I would throw out some suggestions from my experience in the spooky realm as well!
1. Dollar Tree, Dept. 56 or Lemax: Pick Your Pony
Just like Christmas villages, there are a couple of different brands available for Halloween villages.
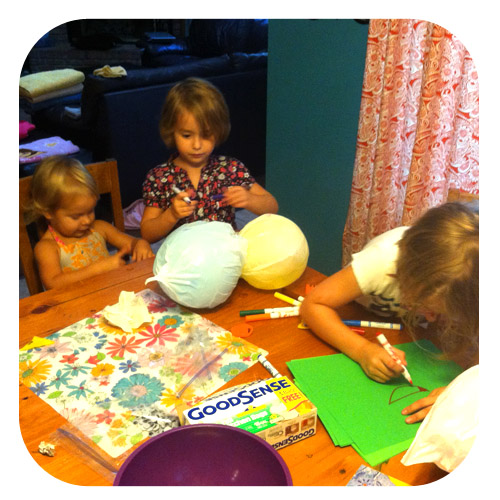
If you’re just getting started and you have some basic crafting abilities, I recommend easing into spooky city construction with an inexpensive DIY Halloween village like this one. A little black spray paint, some Dollar Tree ceramic Christmas buildings, and you’ve got yourself a creepy town starter kit.
On the opposite end of the spectrum, you could go all in with Department 56’s adorable harvest/snow village collection. Dept. 56 is pretty much king in the world of seasonal villages. Their Snow Village Halloween collection is beautiful and whimsical. It comes with a hefty price tag, but they’re sure to be heirloom pieces in your family!
Lemax also has a quaint, New England-esque autumnal collection called Harvest Crossing Village, but I decided to go with their scarier set, Spooky Town. Ultimately, I knew I wanted the full creep factor — I mean, let’s be real, this is an opportunity to explore the deepest, most twisted depths of your soul, right? If you’re not giving your family and friends a few nightmares, you’re not really getting in the Halloween spirit.
I also liked the animation included with a lot of their lighted buildings. Most of them have some sort of flashing lights and a little repeating soundtrack that’s sure to give you the willies.
2. Start small, [Haunted] Rome Wasn’t Built in a Day
Listen, in my dream world, I would have a whole room in my house dedicated to villages. Like, a whole mini-world of natural landscapes and trains and families with complete backstories. The kind of excessive hobby that gets people put in a straight jacket.
But, given my budget constraints, that’s not happening anytime soon. I started my village with the Gothic Haunted Mansion mixed in with a few small houses from the Dollar Tree that I jazzed up with black and purple glitter paint. Each year since, I’ve added at least one building to my display. The slow growth becomes part of the whole annual ritual, and helps give you time to perfect all the little details in the display (which we’ll get to in a minute).

3. Let the Interwebs Bring Your Village to You
When you start building your collection, the Internet is your best bet for affordable building acquisitions. It is possible that you could run across some Halloween village pieces in your local thrift stores, but they are much rarer than Christmas village pieces.
For Spooky Town collectors, I’ve found that the best places to find buildings and accessories are Michael’s, K-Mart (yeah, it still exists), eBay, and (my personal favorite) eHobby Tools. The latter site has a great selection of new and retired buildings and accessories, all reasonably priced (even with shipping).
This year, I pivoted my village theme to fully embrace everyone’s favorite Halloween characters: clowns. Why, you ask?
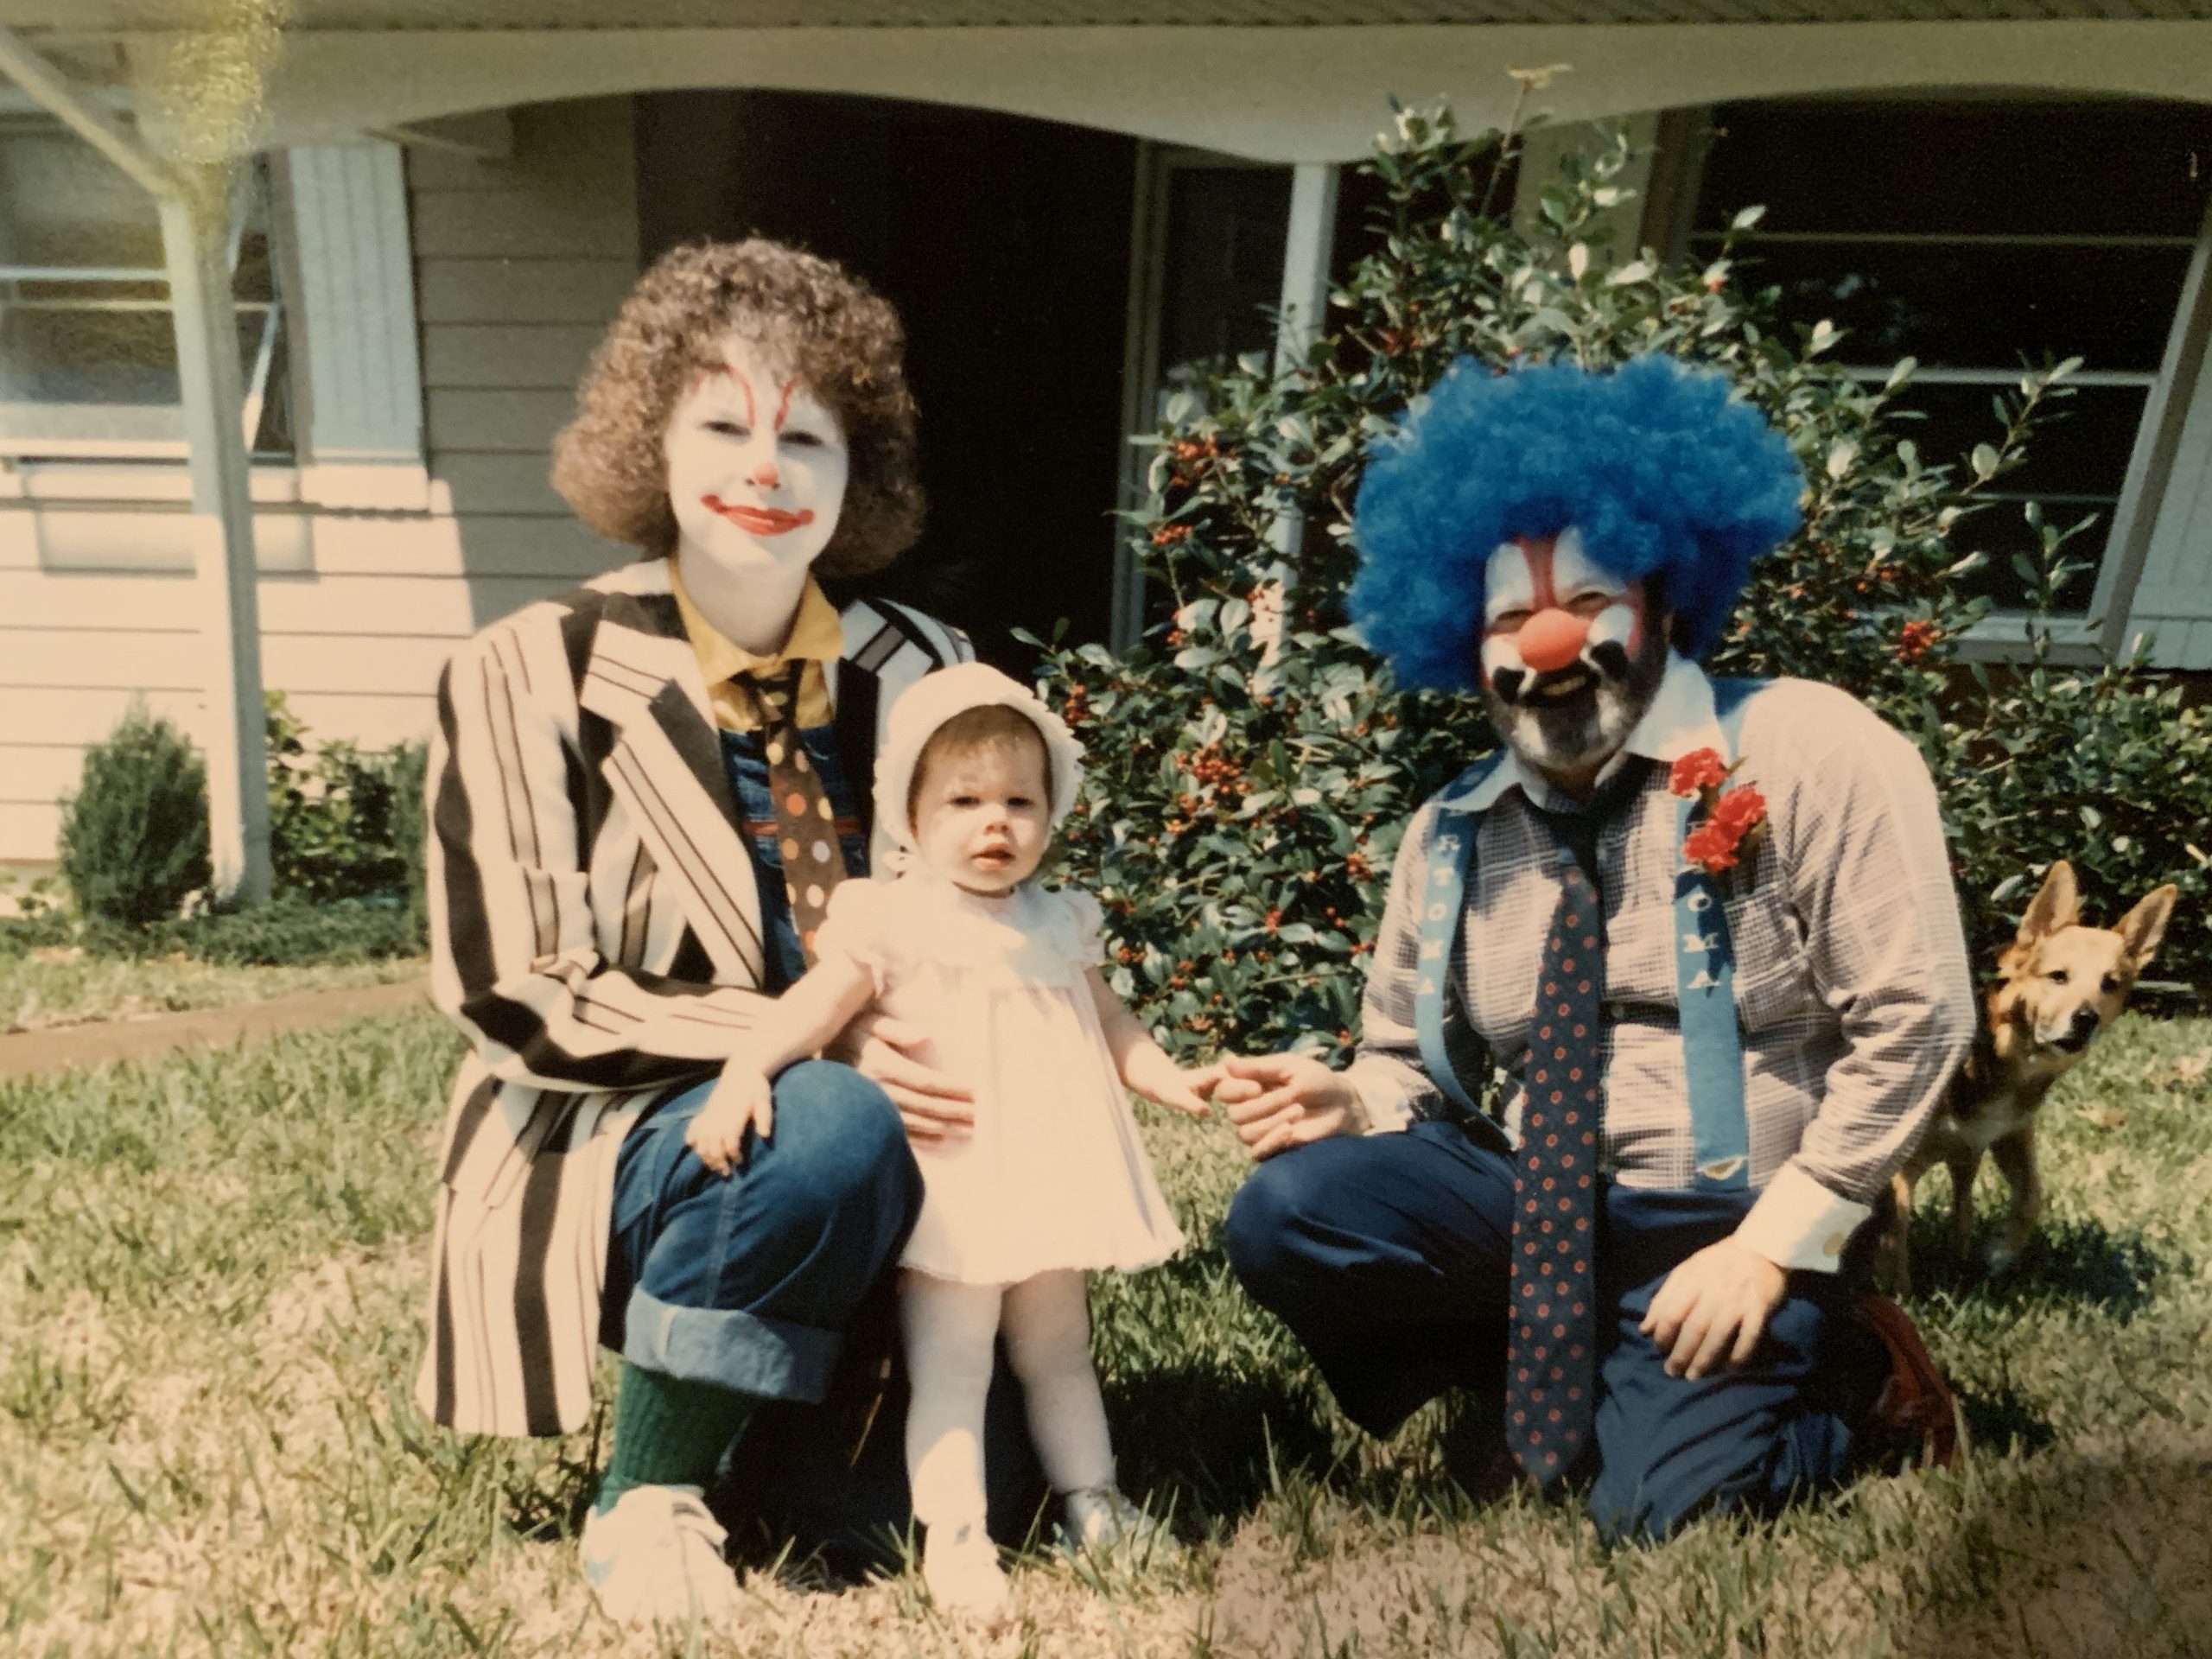
As it were, I come from a family of former parade clowns (true story, read more here). Each time I share this part of my family’s past (and by the way, it takes a tremendous amount of bravery to be open and honest about such a family secret) with a new friend, I am met with the same reaction: OH MY GOD I HATE CLOWNS.
Uh…did you not just hear me say I come from a family of clowns?
After each person shares with me their uniquely traumatizing story about that one circus clown who lived in their nightmares for weeks, the initial response of hatred eventually transitions into ridicule. Over the years I’ve learned to embrace it — the good and the bad — because it’s a colorful (not just in the literal sense) part of my childhood that certainly played a role in forming who I am today.
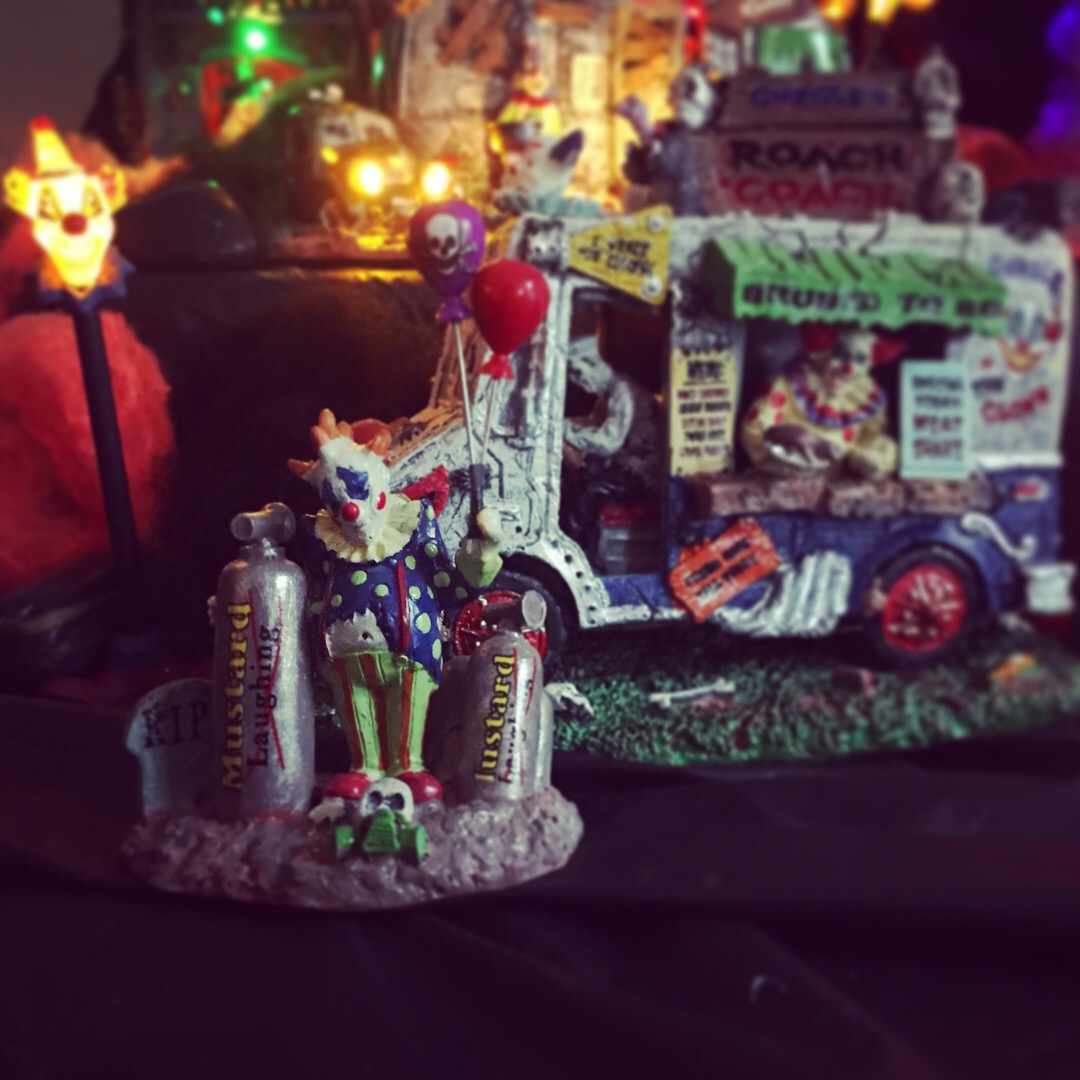
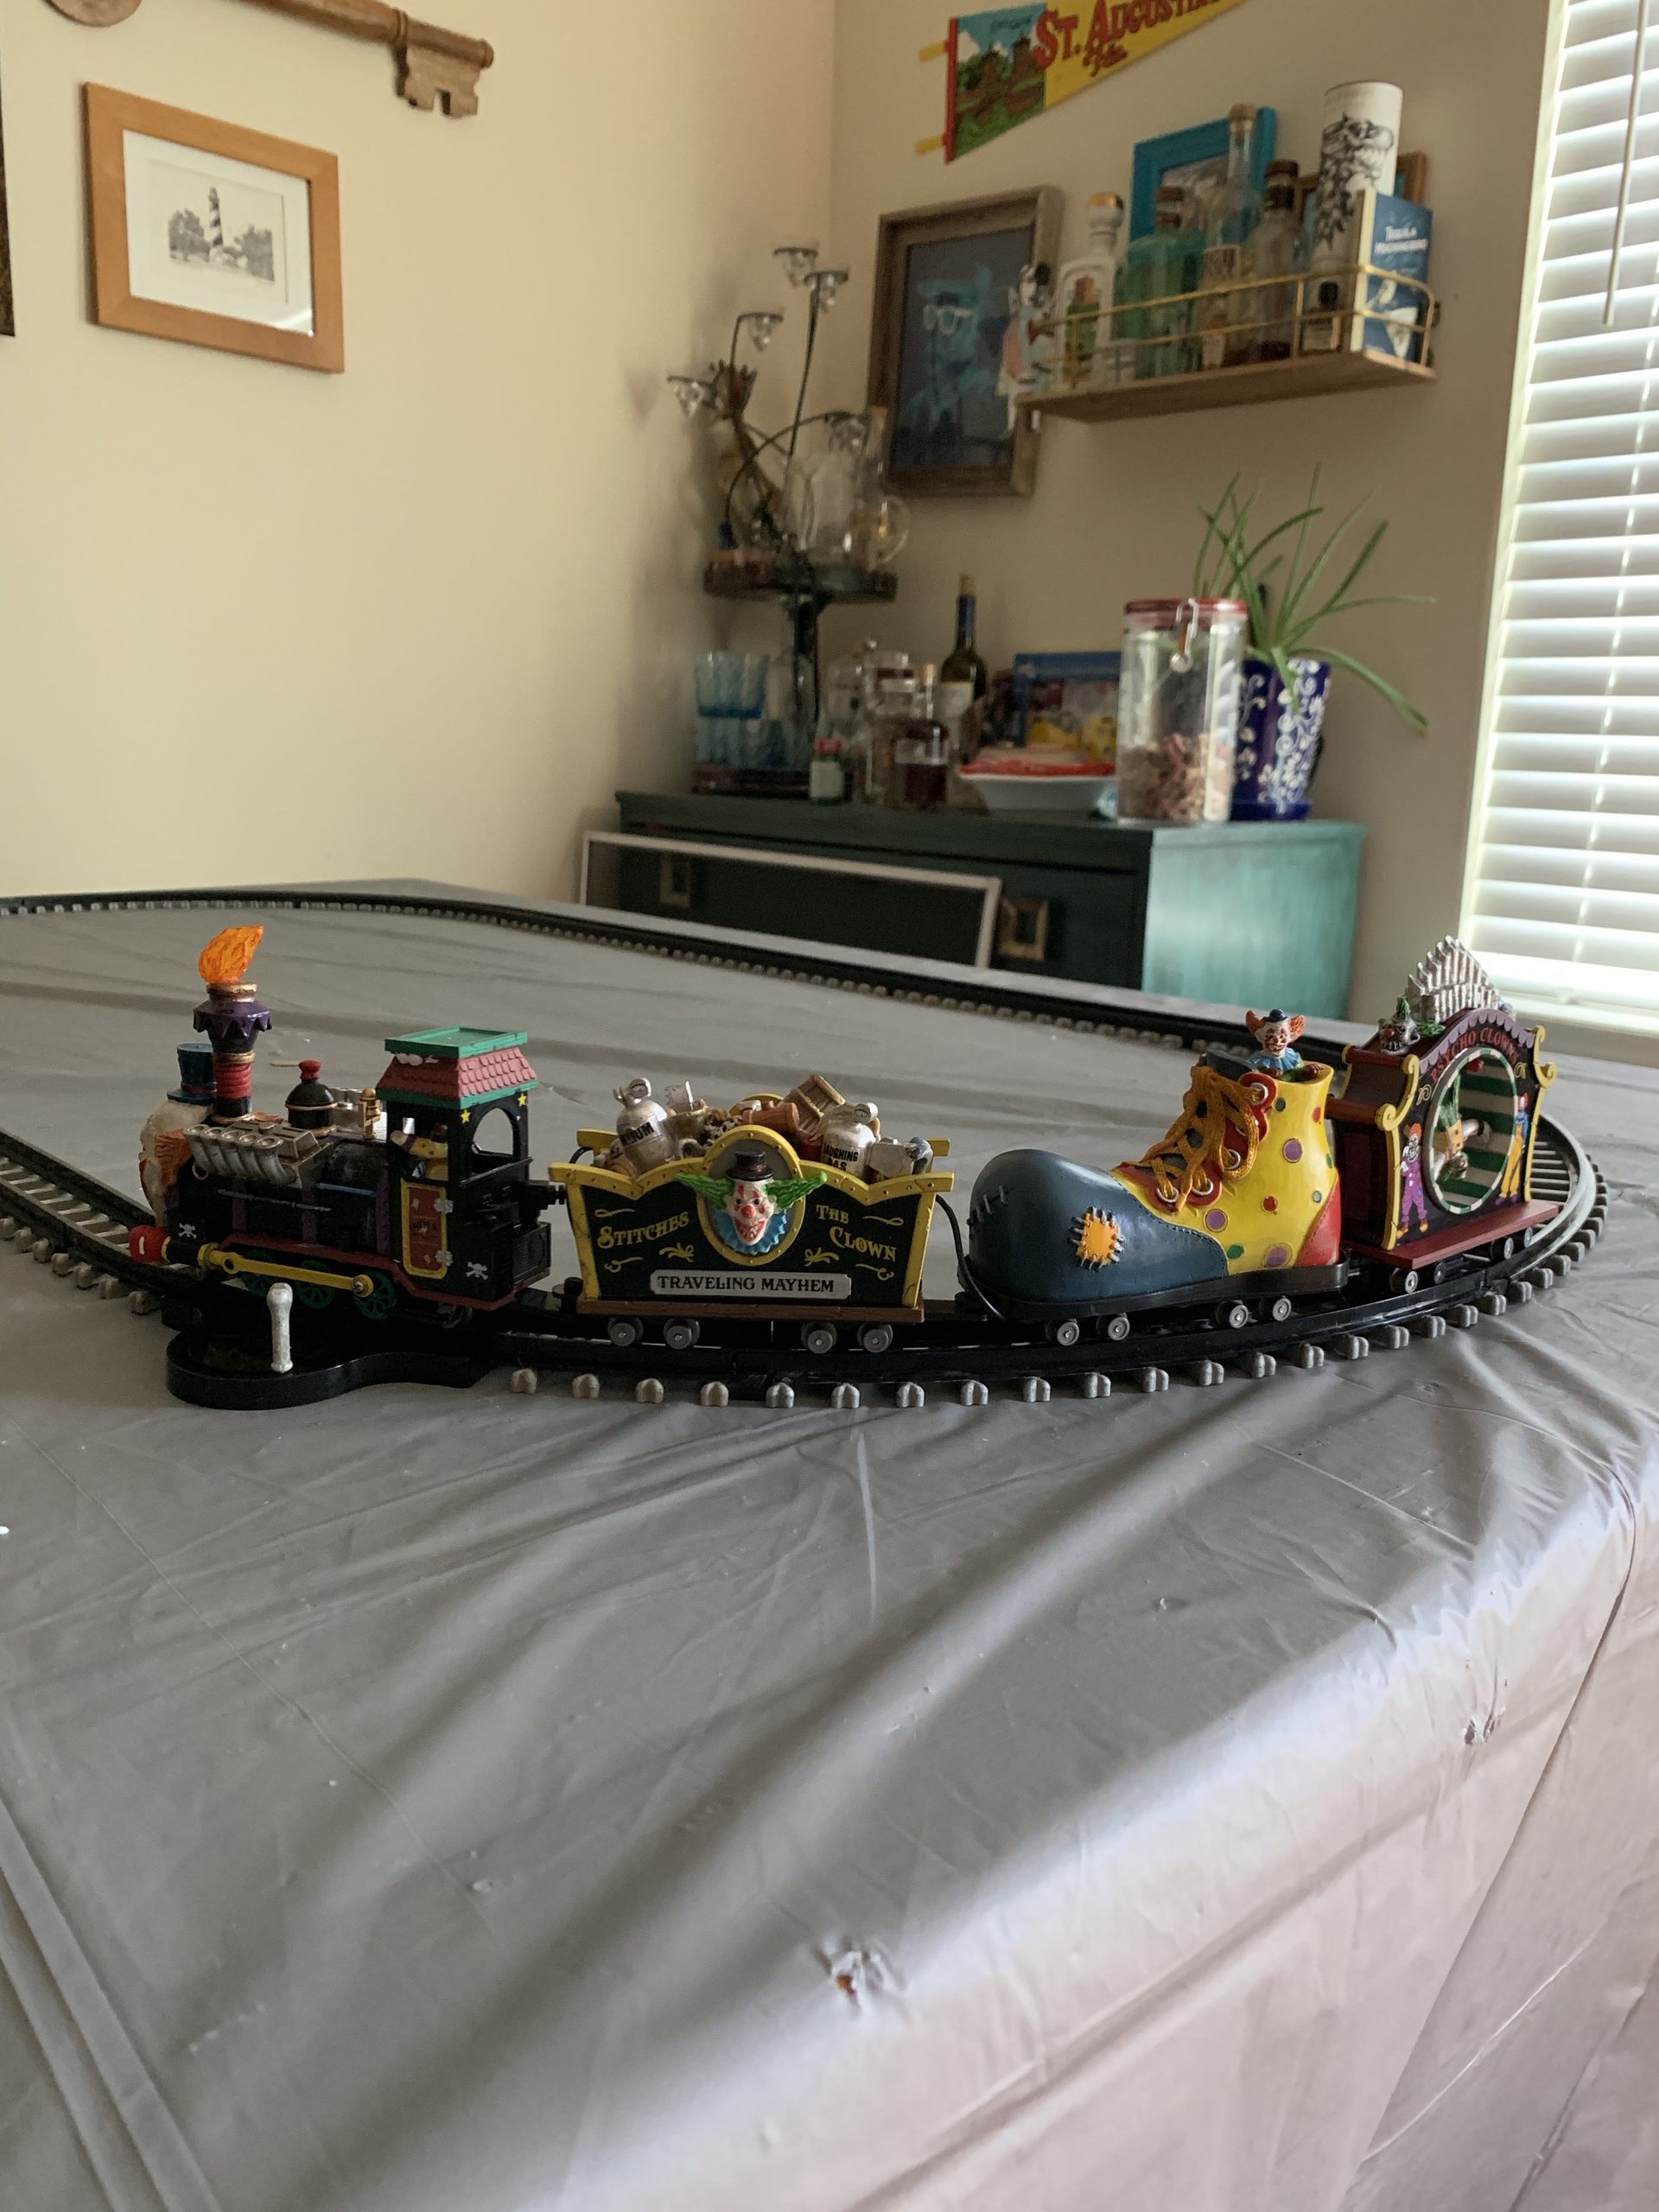
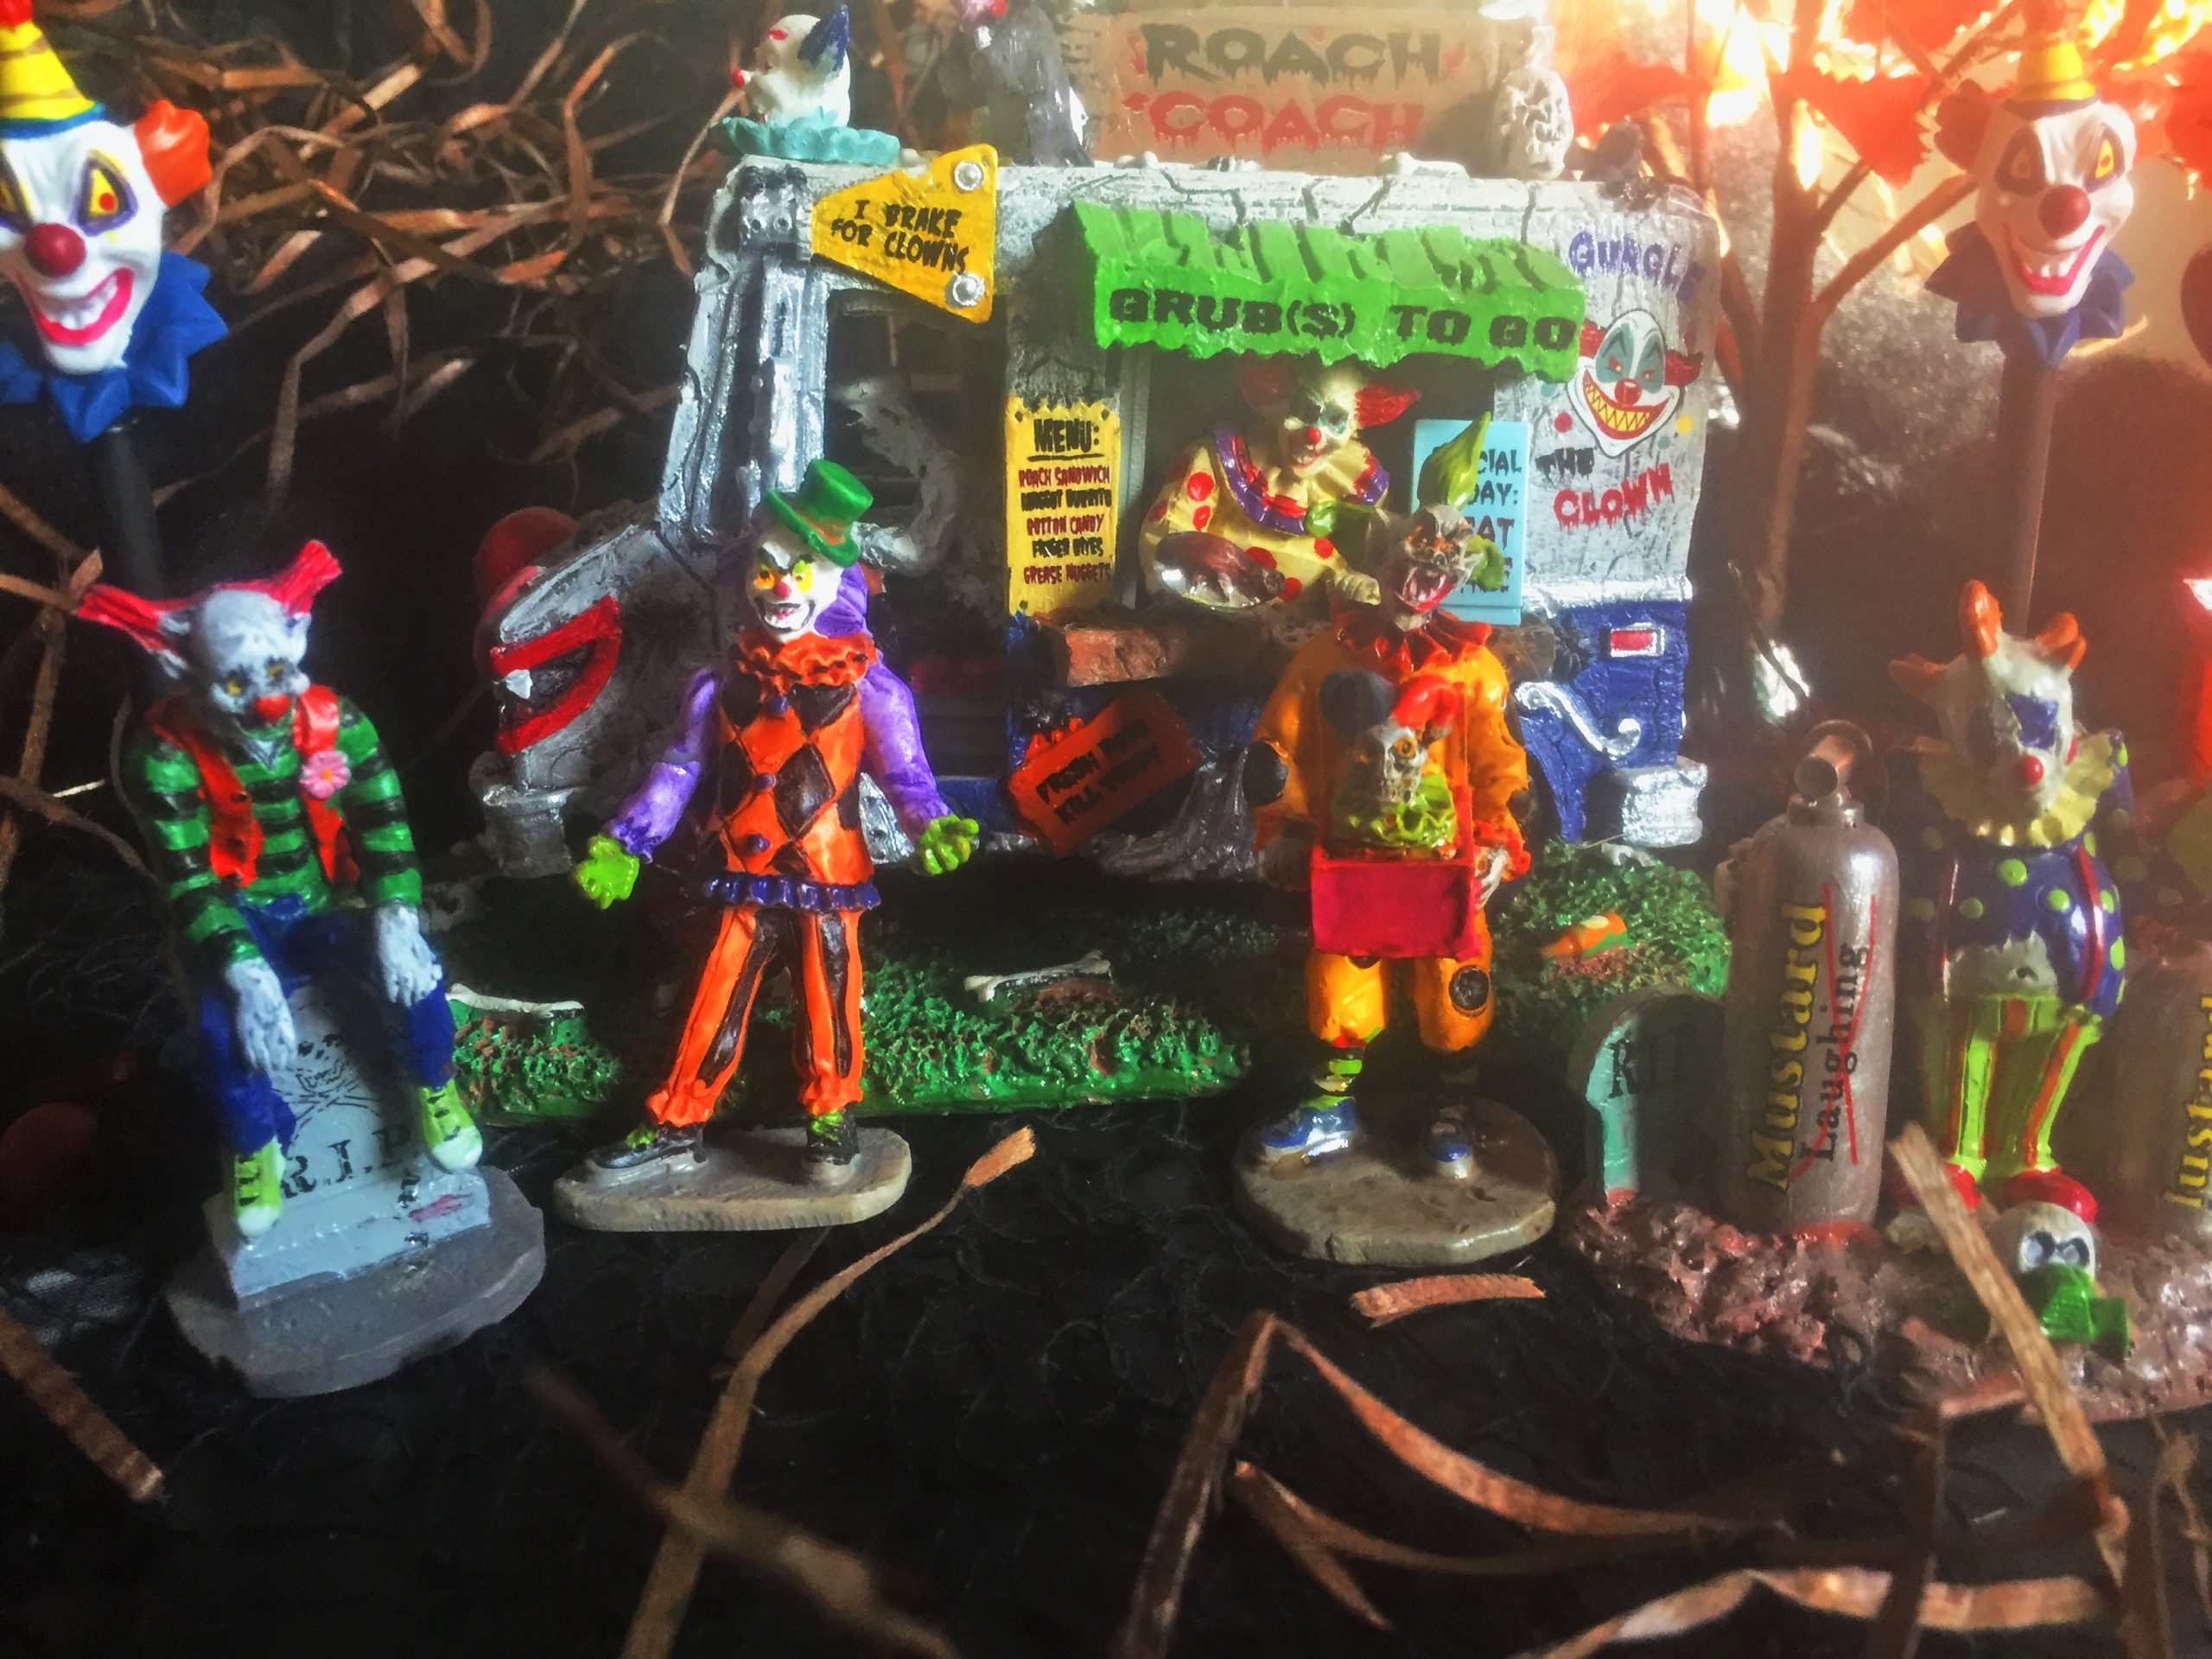
Also, since I’m not afraid of clowns like 99.9% of people, I can give it back to them by praying on their fears with a posse of killer clowns in my Halloween village. Recently, I added the Killer Clown Mobile Home, Gurgle’s Roach Coach and the Crazy Clown Express.
 |
 |
Sweet dreams, kiddies!
4. I’m all about that base, that base, that base
When you start setting up your village, don’t breeze through the set-up of your town’s base. It’s the most important part of the whole process, not only for aesthetics but to avoid logistical headaches down the road.
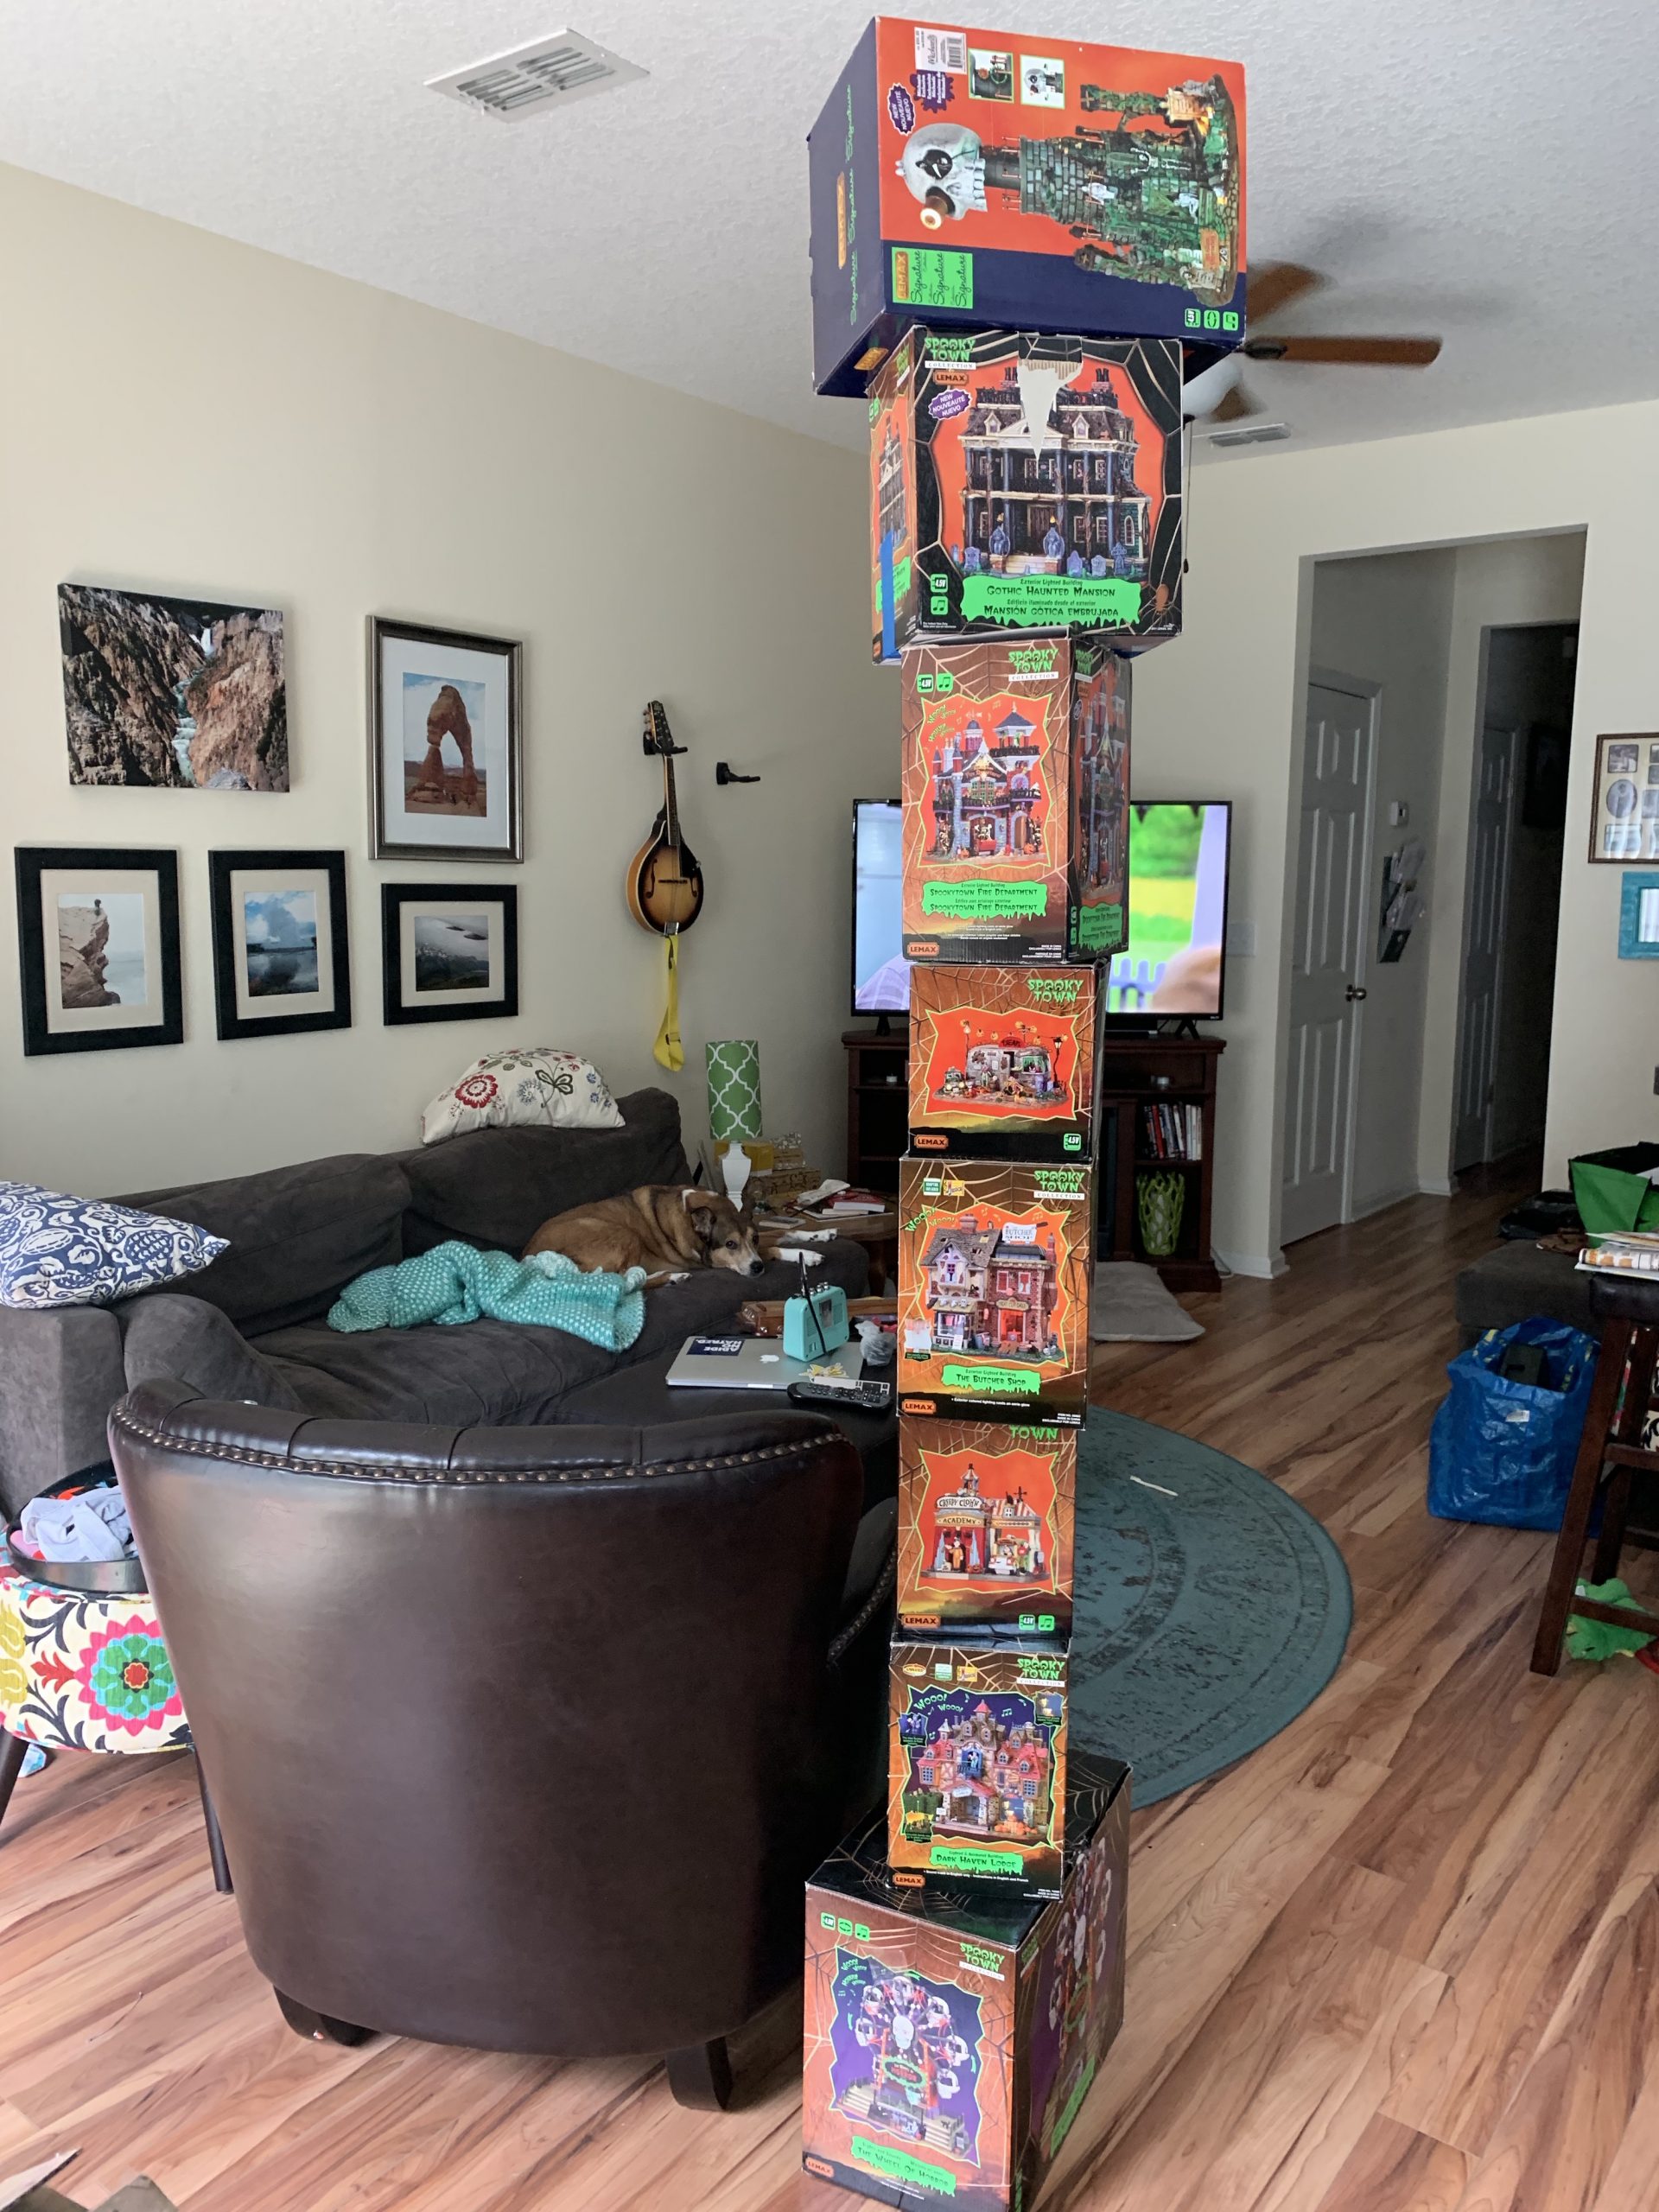
I typically begin with a gray or black plastic tablecloth from the Dollar Tree to cover my table, and then I start stacking boxes and books to build up a few different tiers for some dimension. I test out the positions for each of my buildings to make sure everything will fit before throwing another black tablecloth and/or some “creepy cloth” (a black netting also sold at the Dollar Tree).
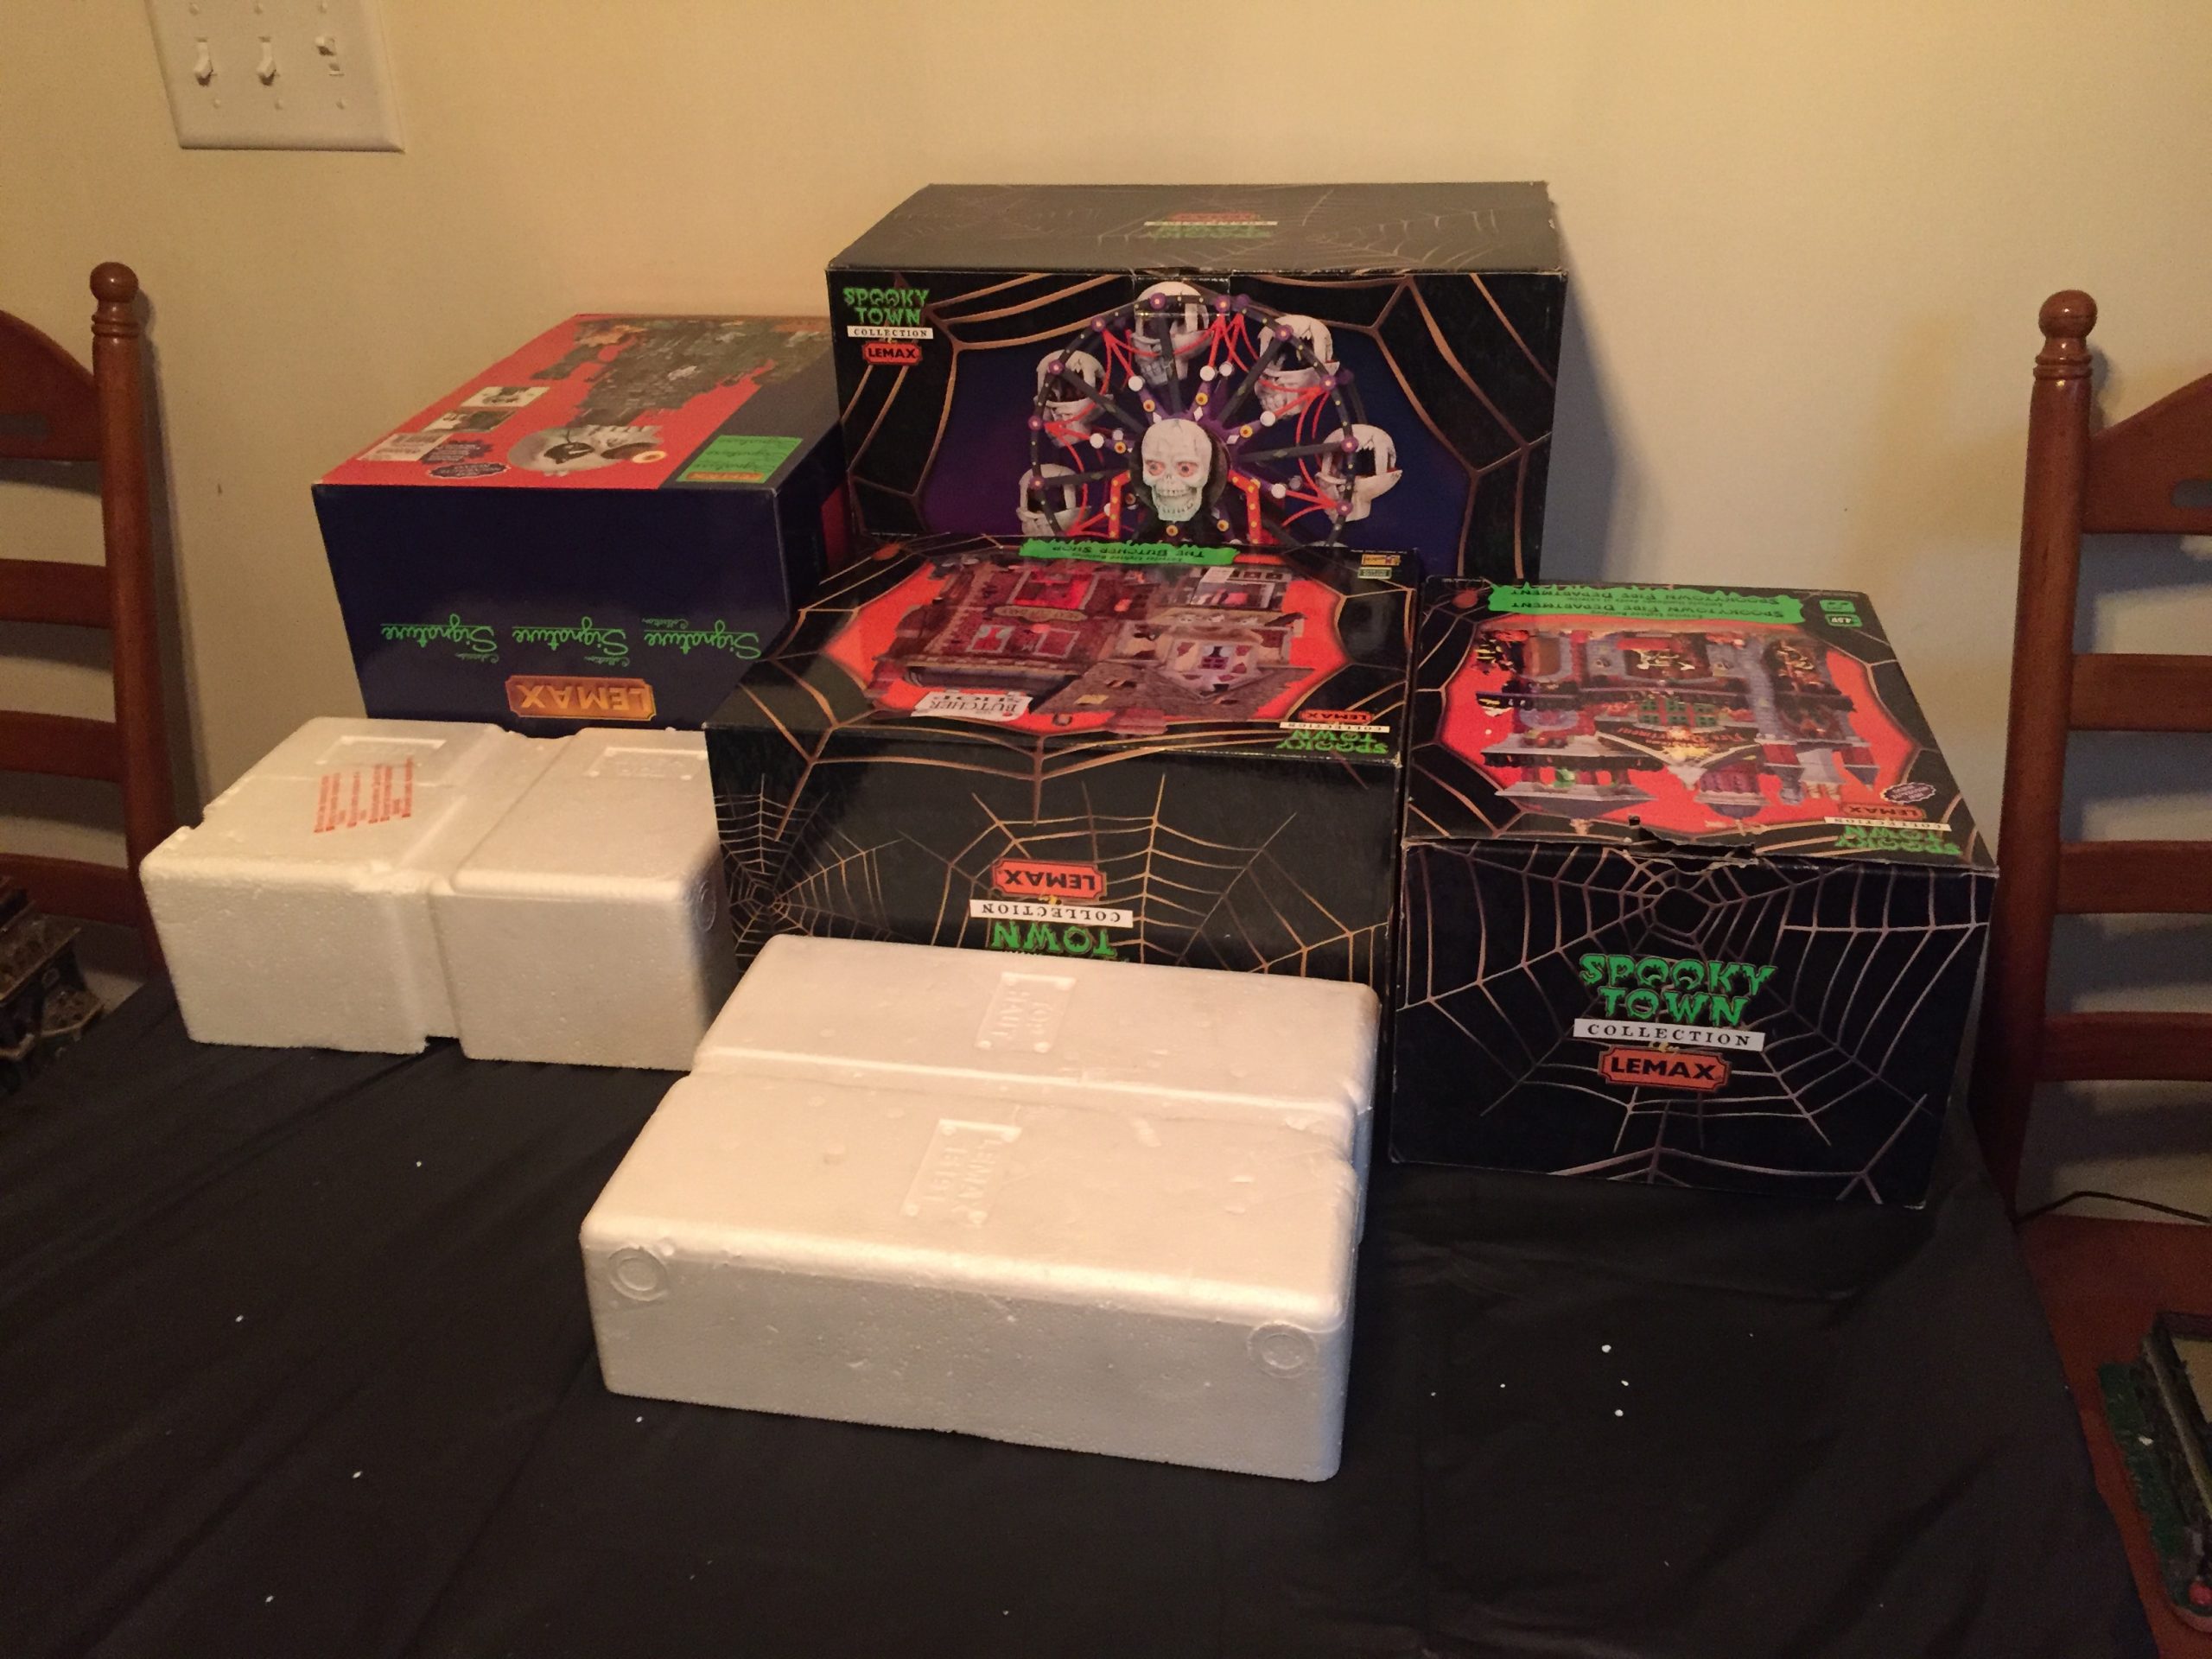 |
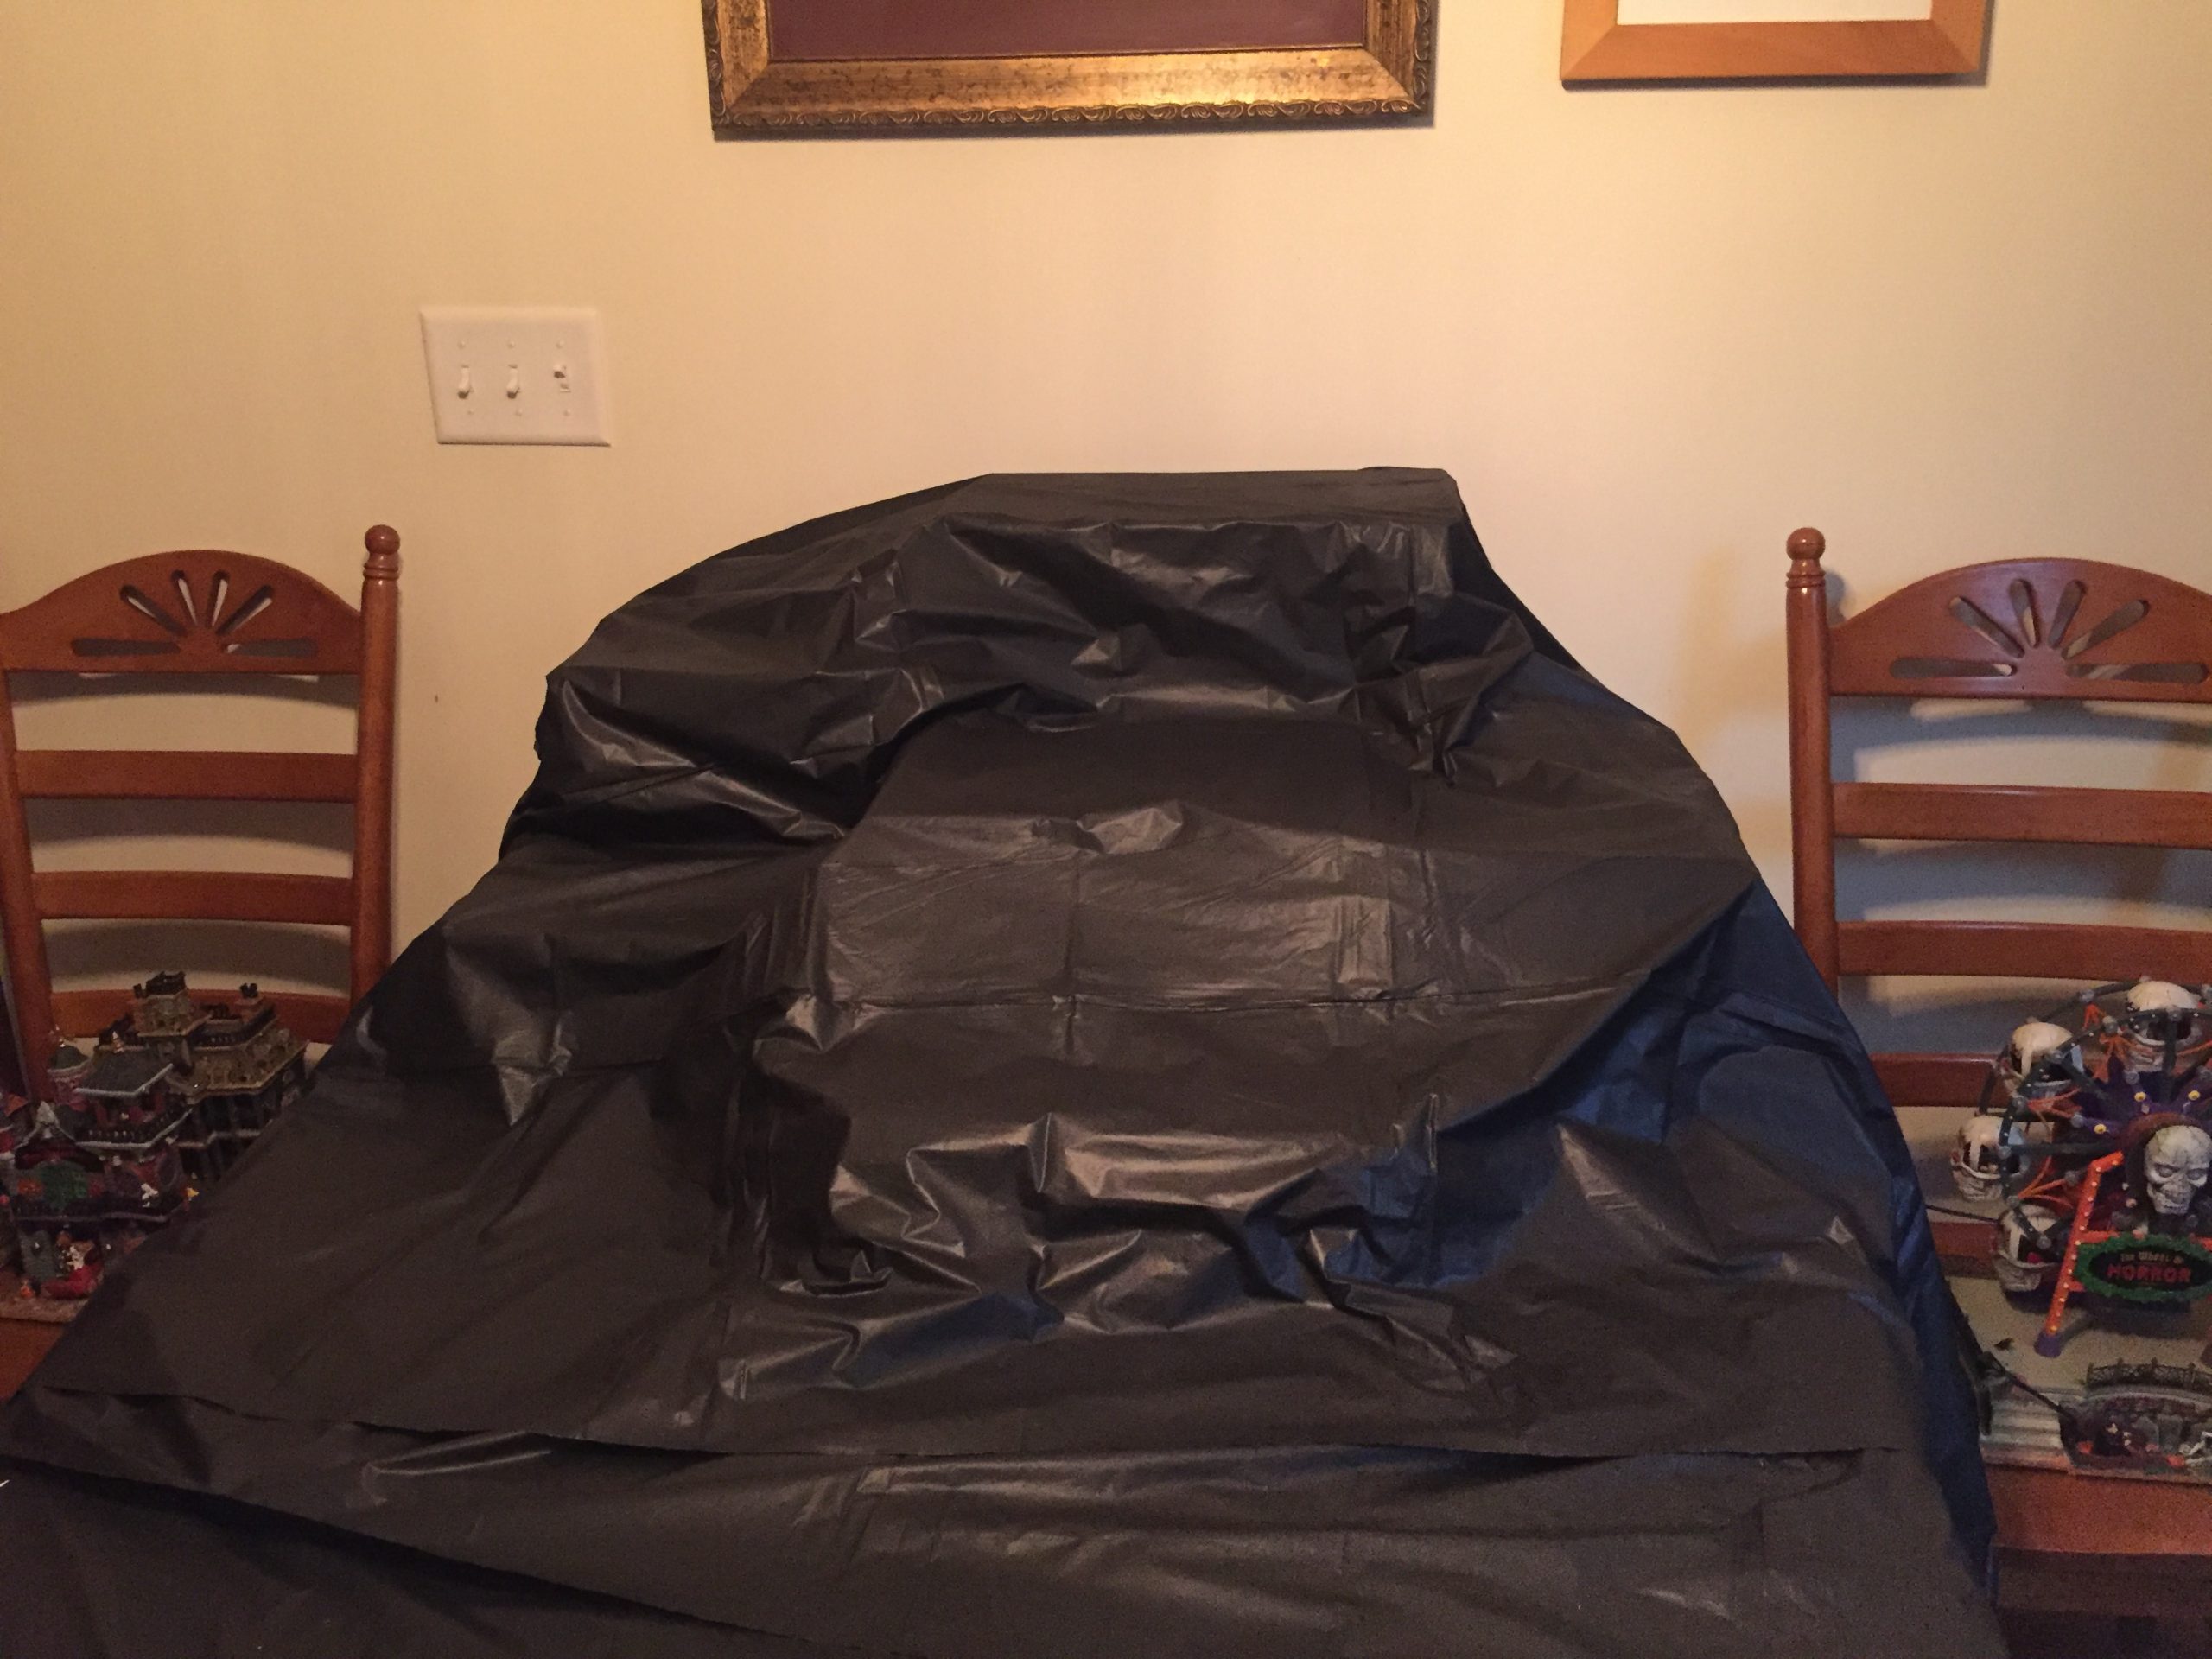 |
 |
Note: My set-up above was prior to the addition of my Clown Train. If you have a train for your village, you should set that up first as it establishes the parameters of your village based on the track layout.
Also, make sure you can run your cords from the buildings under the tracks. I have a couple of these Spooky Town AC Adaptors with three outputs on them and I **HIGHLY** recommend investing in a few of these as your village grows. It will minimize cords and make your layouts MUCH easier.
5. Create vignettes with your layout
As I laid out my buildings, I looked for opportunities to create smaller vignettes within the overall village scene. The little details are one of my favorite parts of the Spooky Town collection — every year I notice something new on a building or with a figurine that I’ve never seen before. Mixing and matching your accessories and buildings can also create different stories.
This year, I sectioned off my carnival pieces and included the new killer food truck between my carnie games where all three could benefit from my purple spotlights and new Killer Clown Lamp Posts.
6. The Devil is (Sometimes Literally) in the Details
Once you have your biggest pieces laid out, it’s time to plug them in and fill in the gaps with some extra accessories, textures and details.
I have two fall trees from the Spooky Town collection, but I added to my nature accents this year with a couple of floral pieces (pictured at left) I picked up for 40% off at Michael’s. I poked the stems through the tablecloth between my boxes on either side of the skull observatory, and VOILA I had some additional foliage.
I also used some black “hay” (the Halloween version of traditional Christmas village snow) to round the hard edges on my box-hills and to cover up wires and lights.
As the last texture touch, I sprinkled some brown rafia-type pieces over the whole village. This is the second year I’ve done that and the second year I’ve INSTANTLY regretted it.
Future Shannon, if you’re reading this, the rafia bits are a HOT MESS and you should NEVER do them again.
Let that be a warning for you as well!
7. Light it up!
While Christmas villages are all about the warm, white glow, Halloween villages are more about the splashes of brightly colored lights. I liked the orange pumpkin lights strung above my new killer clown trailer, so I picked up another string of them from Michael’s and strung them in makeshift trees. I also picked up a string of little battery operated orange lights for my new river feature (made from taffeta ribbon).
The effect really adds a lot to the village at night when everything is lit up — but be warned, every one of my little battery operated light sets (I also have black spotlights and those killer clown street lamps) requires three double A batteries. Pick up a truckload of those at the dollar store to save yourself some dough!
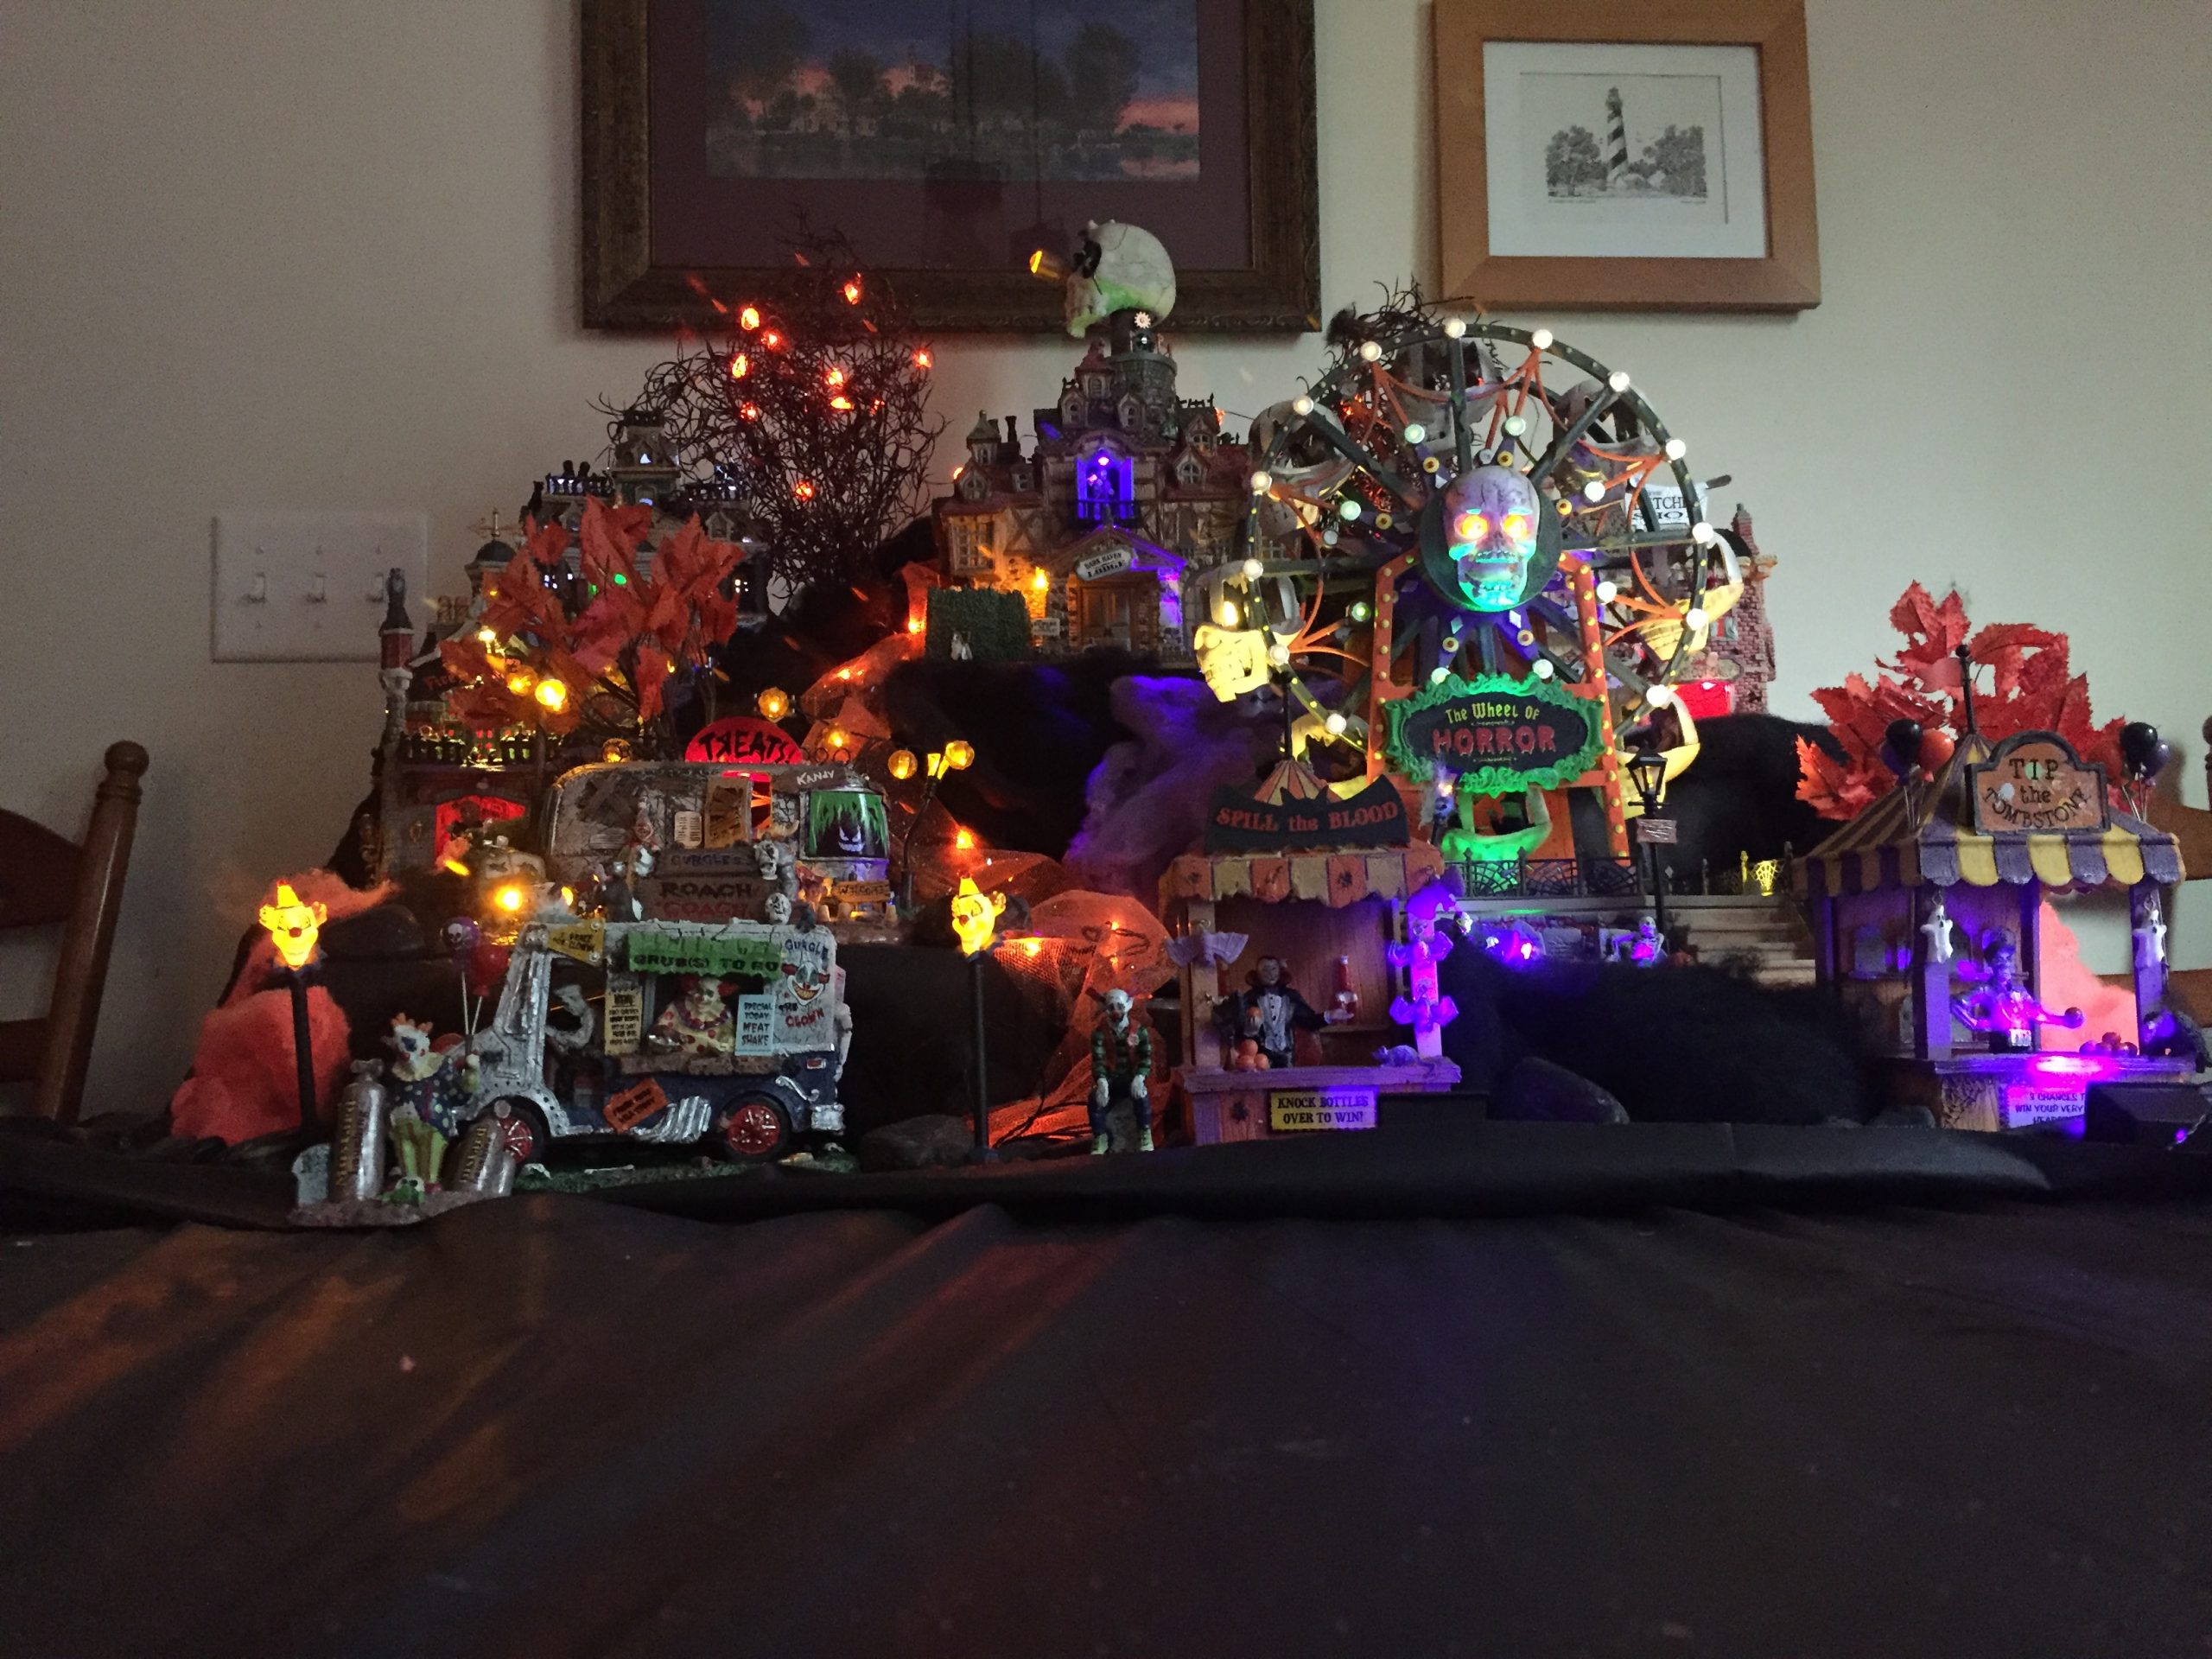
The finished product: My Spooky Town Halloween Village
Here’s a video of my 2016 village set-up. This was pre-clown train.
For the updated video check out this link: Lemax Spooky Town Halloween Village
What are your Halloween village secrets and tricks?
What are your tips for others? Do you have any current challenges or questions you’re trying to sort out? Drop a comment below or shoot me an email. I love to hear from fellow Village People!